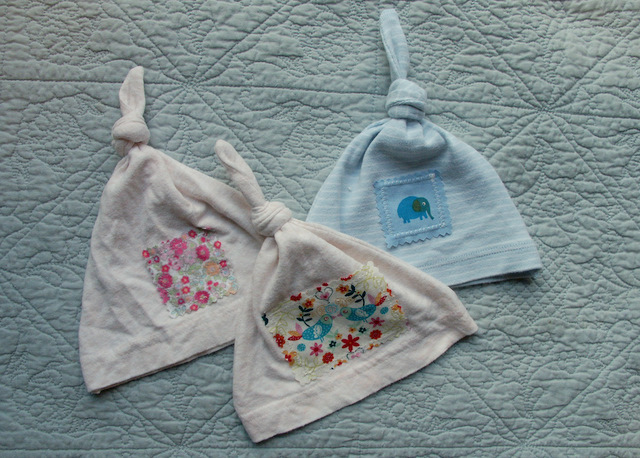
Tutorial - Cute, Cute, Cute. Even if you have never sewn before. Have a go at making these.
Start with a piece of normal printing paper. size 8 X 11.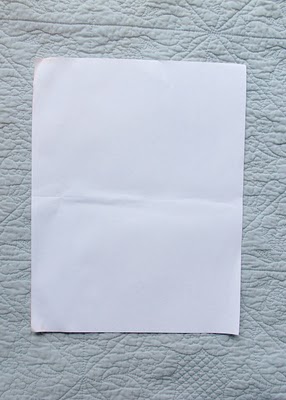
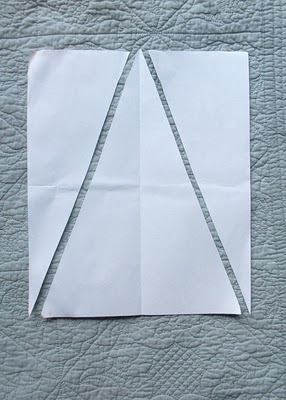
From each of the bottom corners cut a direct line to the center of the top of the paper to form a triangle.
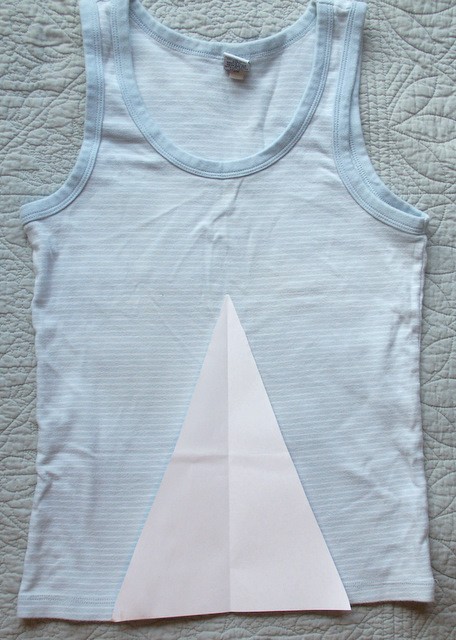
Place this triangle template on top of a shirt at the bottom hem. Cut out through both the front and back layers of the shirt. By using the hem of the bottom of the shirt, you will not need to hem the bottom of the hat.
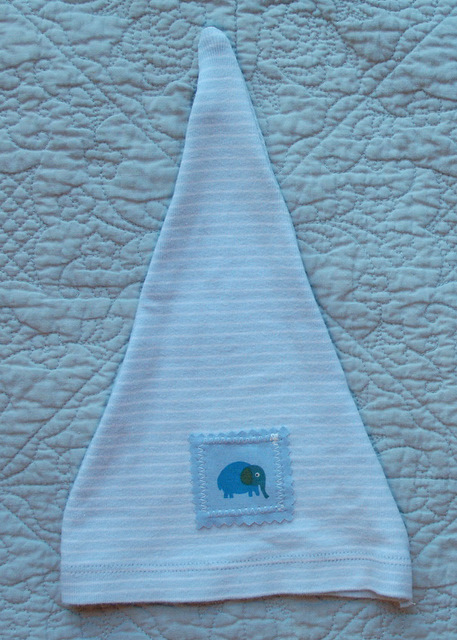
Cut out a decorative square or rectangle piece of printed cotton fabric with pinking shears. Place it on top of the front of the hat at the bottom center right above the hem.
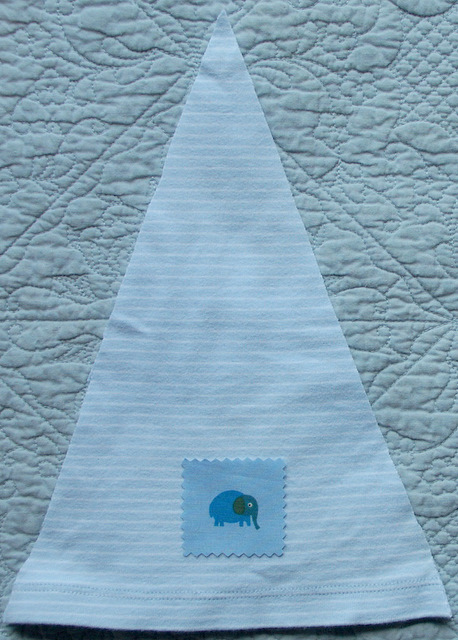
Stitch the applique onto the hat with whatever stitch you like.

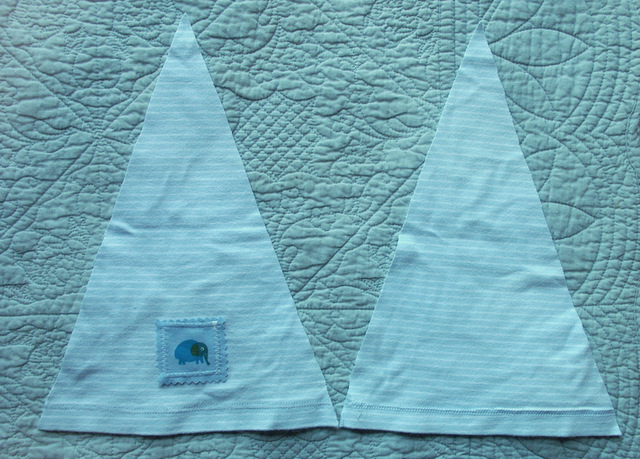
Now lay the two halves of the hat side by side.
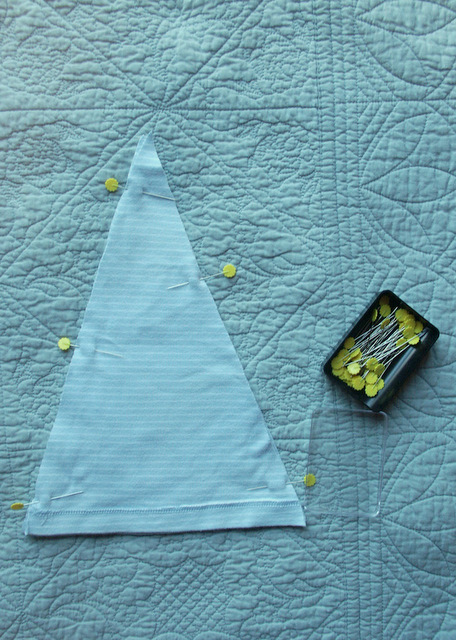
Place the two halves on top of each other right sides facing together and pin the longer outer edges.
Stitch all the way around the two longer sides of the hat starting at the left and ending at the right. Use a 1/2 inch seam allowance.
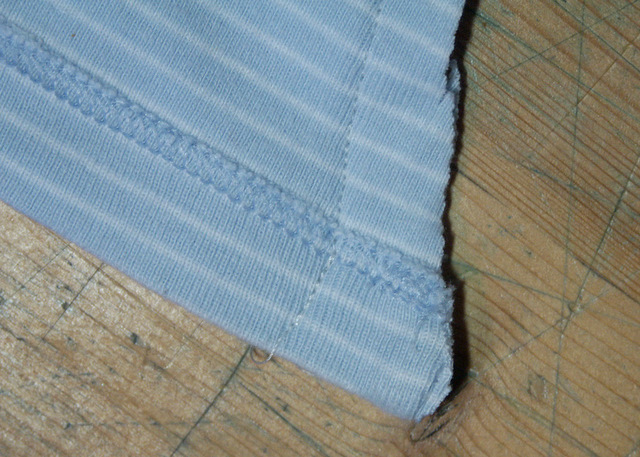
One point to remember is to make the seam at the rim of the hat at a more squared off angle as shown. this allows for the hat to be turned rightside out without it having pointy seams at the sides.
Trim off any excess fabric and turn the hat right side out.
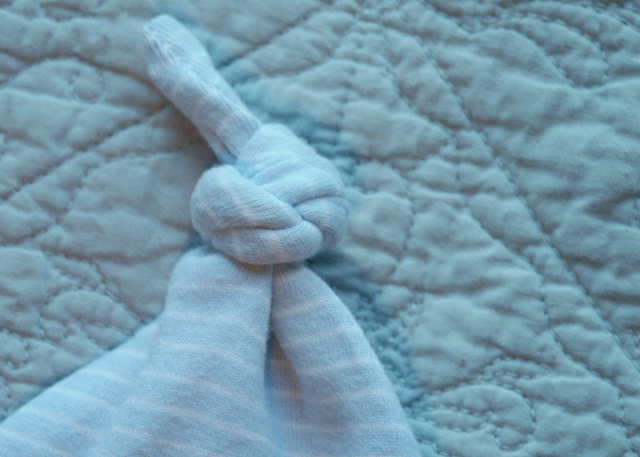
And make a tiny knot at the top.
They really do sew up quickly and make for awesome gifts to new little ones.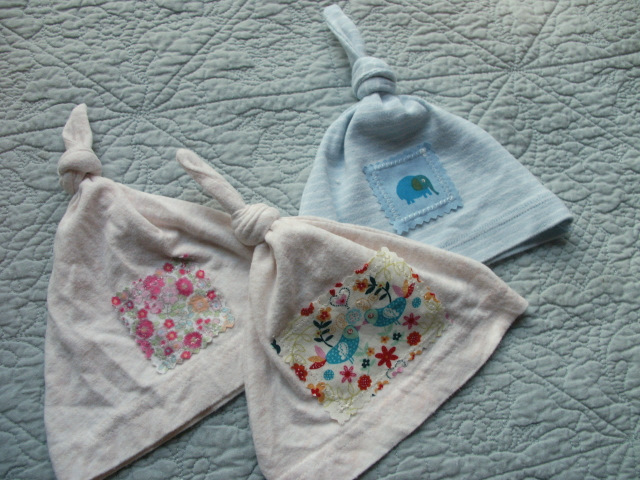
No comments:
Post a Comment