by Sew Mama Sew
Tutorial - Turn your sewing time into double the pleasure with this quick and simple reversible baby bonnet. Two coordinating fabrics and two unique trims are used in this “twice as nice” fashion topper whose turned back brim frames baby’s head ever so sweetly.
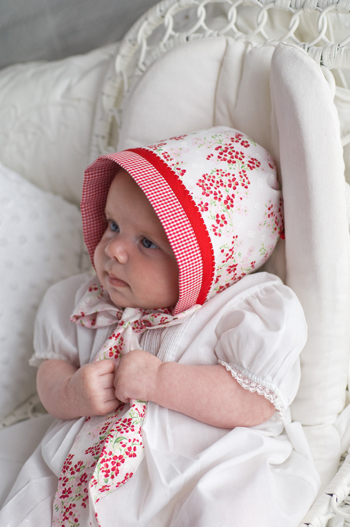
You’ll be finishing the edge of the brim with picot-edged bias which makes the process smooth and easy and gives the edge a bit of no extra fuss “frill” as well. Skinny tubes of fabric called spaghetti bias are used to draw the back casing closed and finish it with a bow. This will become one of those “go to” projects whenever you need a quick gift for a baby or two.
Supplies
- 1/4 yard of fabric #1 (gingham)
- 1/4 yard of fabric #2 (floral)
- 1/4 yard of lining fabric (optional)
- 15” of picot edge bias binding
- 1/2 yard of spaghetti bias
- Thread
- Pins
- Water-soluble fabric marker
- Water-soluble glue pin (optional)
- 3/4″ Fastturn (optional) or safety pen

1. Bonnet Base: Choose a size and cut one rectangle from fabric #1, fabric #2 and if needed, the optional lining. The lining will keep the two fabric patterns from shadowing through.
- 3 mos: 8” x 13”
- 6-12 mos: 9” x 14”
Directions
All seams 1/4”
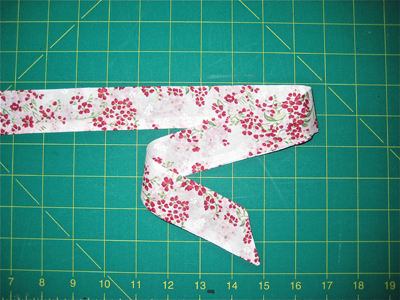
1. Fold each tie piece right sides together matching the edges.
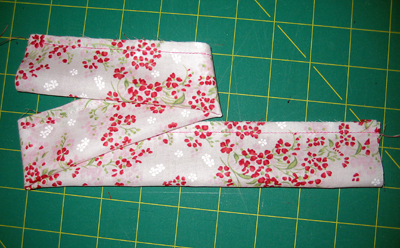
Stitch along the long edge.
Leave the two short ends open.
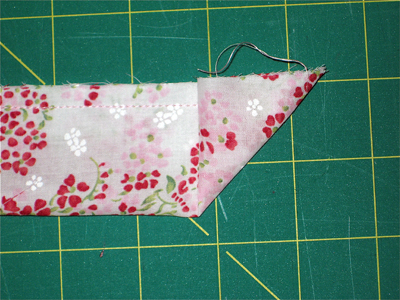
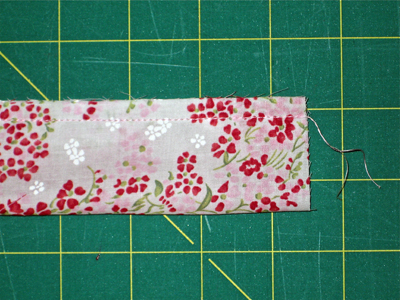
2. Angle one end of each tie by folding the short unstitched edge to the stitched edge and finger press. Unfold and cut along the crease.

3. Stitch the angled edge and trim away some of the seam allowance at the point.
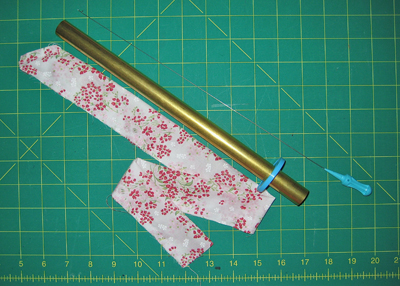
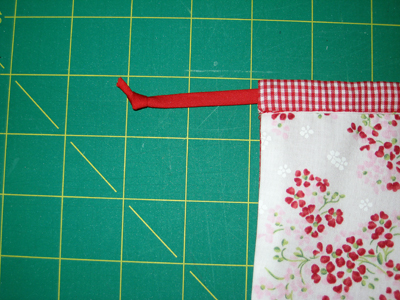
4. Turn each tie to the right side using the Fasturn or a large safety pen.

To use the Fastturn, insert the large tube into the open end of the tie. Insert the wire with the “pigtail” end into the tube.
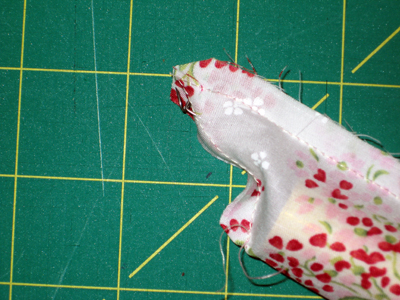
Catch the end of the tie with the “pigtail” by turning the wire.
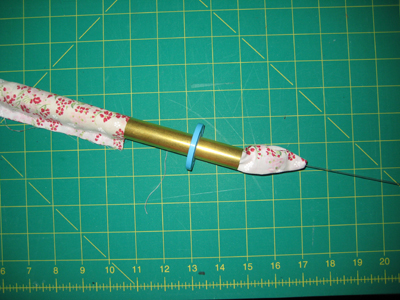
Pull the wire, pulling the tie through the inside of the tube. Poke out the point with a point turner or dull pointed object.
Press well. If a safety pen is used, pin through the seam allowance and push the pen through side of the tie, turning to the right side. Press well.

5. Fold and pin a pleat in the unfinished end of each tie. The pleated end should measure about 3/4”.
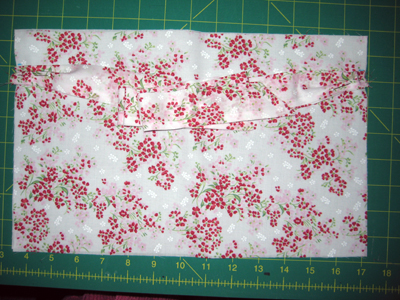
6. Place the lining, if used, on a flat surface. Place one of the bonnet base pieces on the lining right side up. Measure 1-1/4” down each short side and mark with a water-soluble marker. Pin the ties beneath the mark. The long end of the bonnet base closest to the ties is the front.
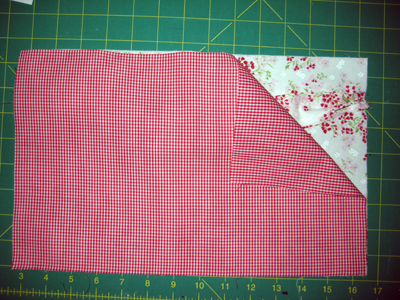
7. Place the second bonnet base, right side down, on top of the ties/first bonnet base. Match the edges and pin in place.
8. Stitch along the two short sides and across the back. Do not stitch across the front (the edge closest to the ties).
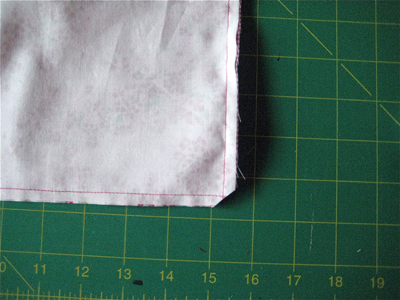
9. Clip the corners at the back.
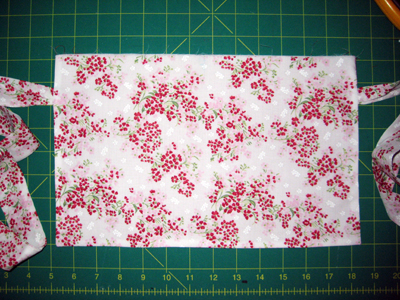
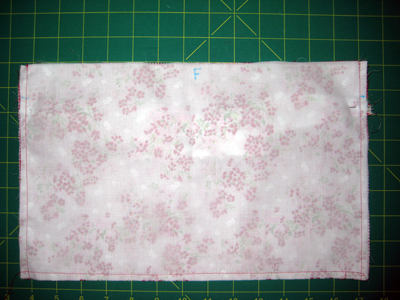
10. Turn the bonnet to the right side through the front opening and press.
11. Fold the back edge 1/2” to one side. Press. Pin.
12. Allow the picot-edge double-fold bias binding to extend 1/2” beyond the bonnet sides. Trim away any excess.

13. Unfold one edge of the binding and place, right sides together, to the unfinished edge of the bonnet. Pin or glue in place with a water-soluble glue pen. Note: the glue in the glue pen is blue so it’s easy to see how much and where it’s applied but it dries clear. It also washes out easily with water.
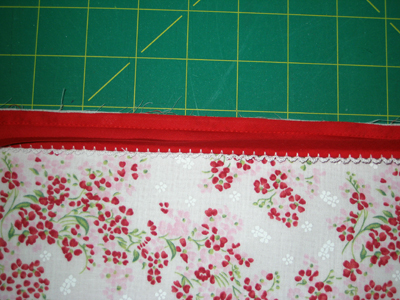
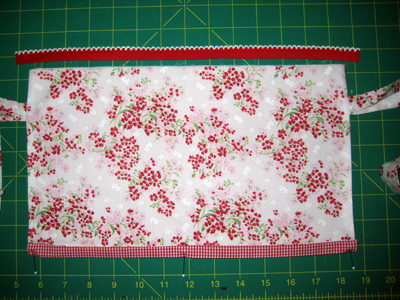
14. Stitch the binding to the bonnet in the crease of the binding.
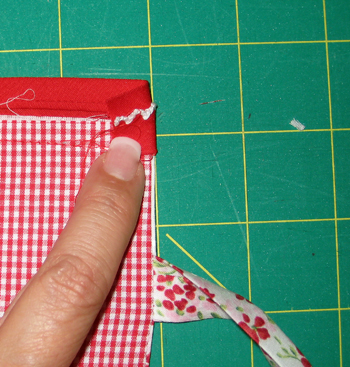
15. Finger press the binding away from the bonnet and fold the extended ends to the inside. Fold the binding over the raw edges of the bonnet to the previous stitching line.
Pin or glue…

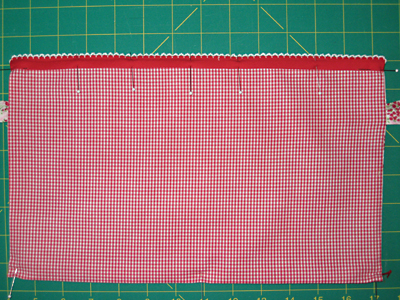
…And topstitch in place along the folded edge.
16. Fold the front edge of the bonnet 1” to form the brim. Press.
17. Stitch the back casing in place along the inner edge. Backstitch at each end of the stitching.
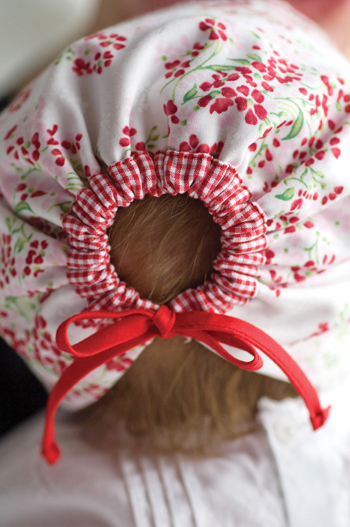
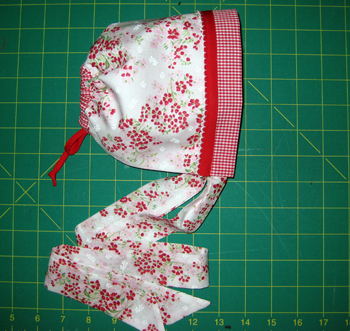
18. Run the spaghetti bias through the casing. Tie each end into a knot. Even the ends of the spaghetti bias in the casing.

Find the center of the bonnet casing and stitch back and forth though the casing/spaghetti bias.

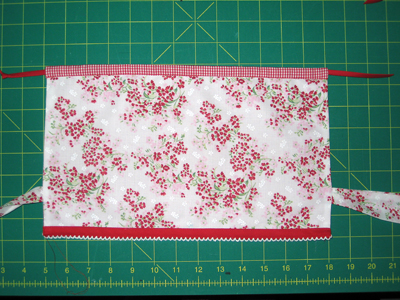
19. Gather the back of the bonnet and tie the spaghetti bias into a bow.
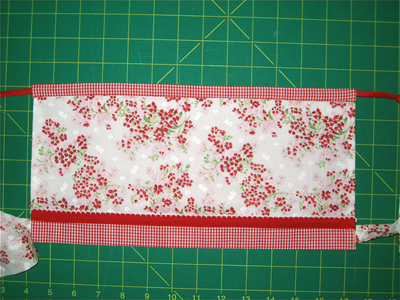
20. The brim can be flipped to the other side and worn in reverse.

Reversible Baby Bonnet in Green
No comments:
Post a Comment