by Sew 4 Home

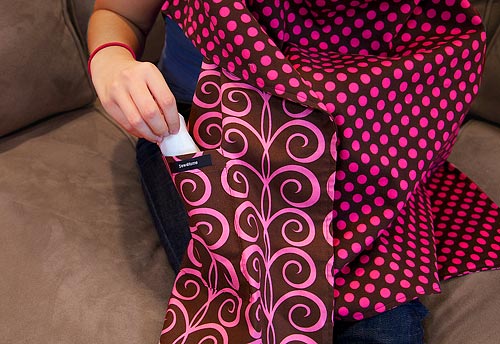
Sew 4 Home has provided a tutorial for a stylish nursing cover. Very easy-to-make version – complete with a hidden inside pocket for nursing pads or baby wipes. The more common name for this item out on the Internet appears to be: 'Hooter Hider' – uh, alrighty then. Makes me think of skimpy t-shirts and chicken wings, so lets stay with Nursing Cover.
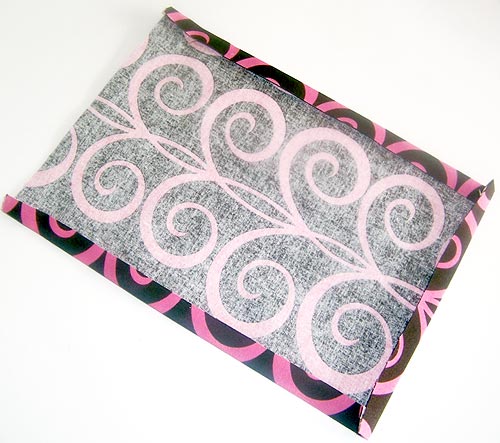
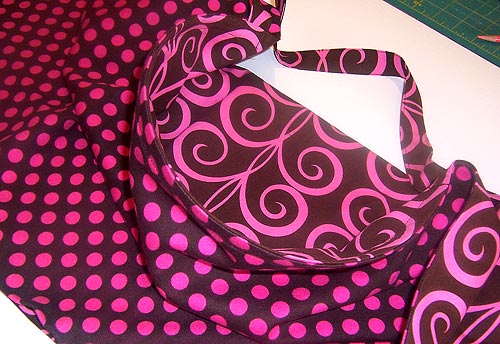
This one is soft knit on the outside with a woven cotton print on the inside, giving Mom something pretty to look at. The finished size of our cover is 24" x 36". To wear, simply place the cover over your baby, wrap the strap around your neck, and adjust it so the curve of the boning (encased in a channel along the top front) creates a little window. You're completely covered, but you can still keep on eye on happy baby from up above.
Sewing Tools You Need
Any Sewing Machine
Fabric and Other Supplies
- 1 yard of 44-45" cotton knit for outside of cover: used Michael Miller's Knit Ta Dot in Cocoa
- 1 yard of 44-45" wide cotton print fabric for lining and inside pocket: used Pillow & Maxfield's Pretty Bird for Michael Miller Fabrics in Brown Twirling Tendrils
- ½ yard of ½" boning
- ½ yard of ½" sew-in Velcro
- Scissors or cutting mat and rotary cutter: we recommend a cutting mat and rotary cutter
- All purpose thread
- See-through ruler
- Ironing board and iron
Getting Started
- From the knit fabric (Cocoa Ta Dot in our sample), cut one 25" x 37" rectangle.
- From the woven fabric (Brown Twirling Tendrils in our sample), cut the following:
- ONE 25" x 37" rectangle for the lining
- ONE 7" x 9" rectangle for the pocket
- NOTE: We had enough fabric to fussy cut our pocket so it would match our pattern perfectly, creating an "invisible" pocket.
- ONE 3" x 28" strip for the strap
At Your Sewing Machine & Ironing Board
Make the pocket
- Fold under the two 9" sides of the pocket and the bottom ½" and press.
- Make a 1" double turn hem to finish the upper edge of the pocket. To do this, fold under 1" and press. Then, fold under another 1", press and pin in place.
- Cut a 1½" section of Velcro. Center the hook portion of the Velcro on the double hem. Pin in place.


- Unfold the hem and sew the Velcro to the fabric through a single layer of fabric.
- Re-fold the hem and edgestitch the hem in place.
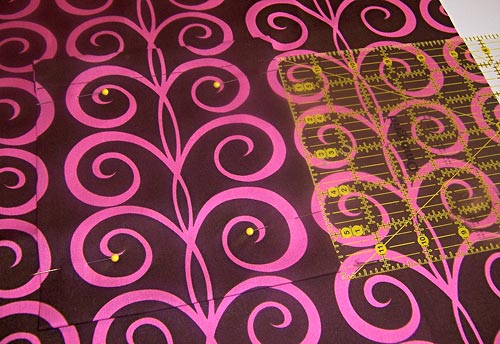
- Position the pocket on the lining 5½" from the right edge and 4" up from the lower edge. You can adjust the position as necessary to best match your fabric's pattern. Pin in place.
- Edgestitch the pocket in place along both sides and across the bottom, pivoting at the corners. The top remains open, because... it's a pocket.
- Lift the upper edge of the pocket and position the loop side of the Velcro so it matches the hook side of the Velcro on the pocket.
-
- Edgestitch loop piece in place.


Make the strap
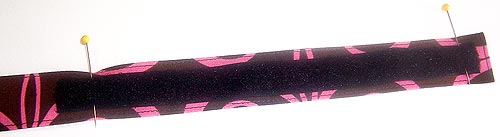
- Fold in ½" along both the long edges and one end of the 3" x 28" strap piece and press.
- Fold the strap in half lengthwise (it's now 1" x 28"), matching the folded edges. Press and pin.
- Edgestitch around the three folded sides. The opposite end remains raw and open.
- Cut an 8" piece of Velcro. Position the loop side of the Velcro at the folded end of the strap, centering it between the lines of stitching. Pin in place. Set aside the 8" hook side of the Velcro for later use.
-
- Edgestitch the Velcro along all four of its sides.
- Lay the knit cover piece flat on your work surface, right side up.
- Measure 9½" from the left top corner and pin the strap in place with the Velcro side facing up. Match the raw open end of the strap with the top raw edge of the knit.


Put it all together
- Place the knit fabric over the lining with right sides together, aligning all the raw edges. Pin in place.
- NOTE: The strap will be sandwiched between the layers. Make sure it is hanging free down the middle of the layers so it won't get caught up in the seams. You can pin the bottom end of the strap to the lining to be sure it stays put.
- Using a ½" seam allowance sew the two pieces together along all sides, leaving an approximate 4" opening at the bottom edge for turning right side out.
- NOTE: When sewing a knit fabric to a woven fabric, place the knit side down, against the feed dogs of the sewing machine. This helps prevents the knit from stretching and puckering as you sew.
-
- Trim each corner, then trim the upper edge seam to ¼".
- Turn the nursing cover right side out. Press, making sure to press the raw edges of the 4" opening flush with the sewn seam.
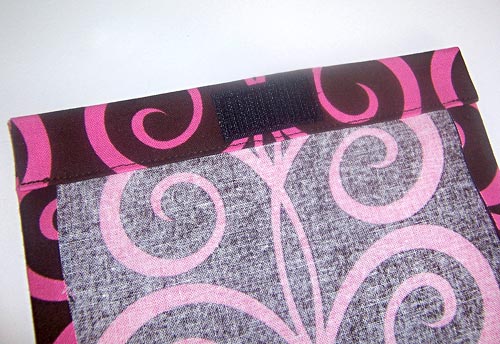
- Measure for the boning channel. The starting point is the outside edge of the strap; the ending point is 18" from the starting point.
- Stitch 5/8" from the top edge to form the boning channel. Back tack at the beginning and end of this seam.
-
- Reach in through the bottom 4" opening, and working from inside, in between the layers of the cover, insert the boning into the boning channel.
- NOTE: The boning has a built-in curve. For this nursing cover, the boning should curve toward the lining side, which will bow out the front of the cover.
- When you have the boning in place in the channel, from the outside, stitch vertically across each end of the boning to secure it.
- From that leftover 8" piece of Velcro hook, cut a 1½" piece.
- Edgestitch this Velcro piece in place at the end of the boning, opposite the strap. Use the vertical stitch line to align the Velcro.
- To finish, topstitch ¼" from the edge, starting at the right side of the Velcro hook piece you just stitched in place, going around the nursing cover, closing the 4" opening along the bottom, and ending at the left side of the strap. Remember to pivot at all the corners.


Project Concept: Liz Johnson
Sample Design, Creation and Instructional Editing: Michele Mishler
No comments:
Post a Comment