Tutorial - Cute and oh so useful.

This one has a little twist: a couple of handy loops to keep track of toys, etc.
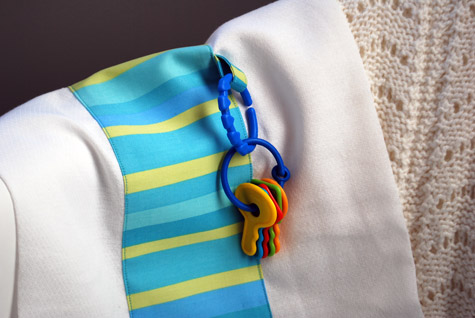
Just attach one or more plastic baby links


Supplies:
- 3/4 yard of fabric (for 6 cloths; this varies a bit depending on the cloths you buy)
- White burp cloth, ironed flat
- Plastic baby links
- Rotary fabric cutter
- Good fabric scissors
- Iron
- Ironing board
- Sewing machine
- Pins
- Thread – your fabric color plus white thread


1. Cut your pieces
You can pre-wash your burp cloths and fabric if you want but usually I skip it and hope that they’ll shrink together. Iron the cloth flat. Measure your burp cloth. Add 2″ to the length measurement (assuming you’ll be folding over 1/2″) and add 1″ to the width measurement and cut.
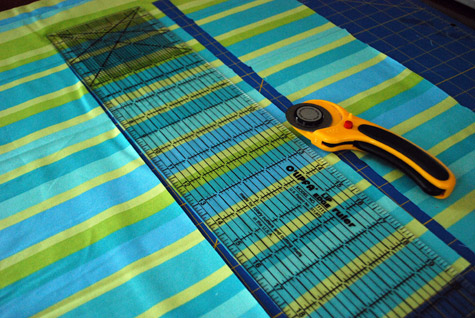
For instance, mine was 20 long and I wanted the middle fabric strip to be 4.5 inches finished. So, I cut my fabric piece 22″ x 5.5″ (which is the size you should cut if you buy the white burp cloths that I recommend from Amazon.com).
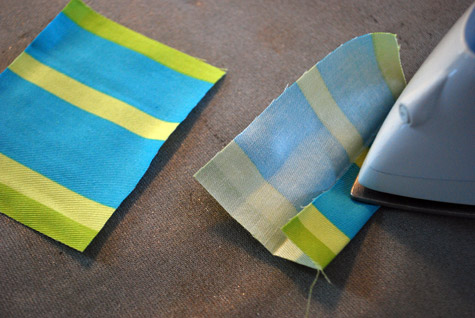
Cut two loops 4″ long x 3″ wide.
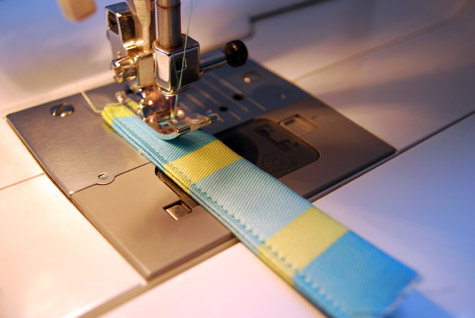
2. Make your loops
Iron your square in half so it’s 1.5″ wide and 4″ long.
Fold each raw side into the middle and press again. You’ll have a little sandwich.
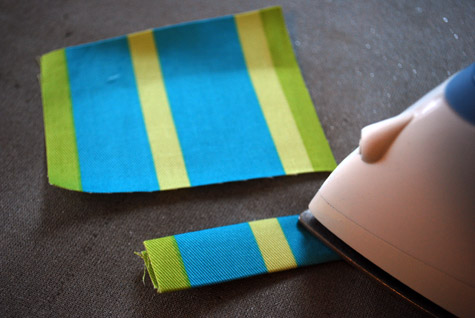
Sew at about 1/8″ around the edges. Repeat for the other loop and set aside.

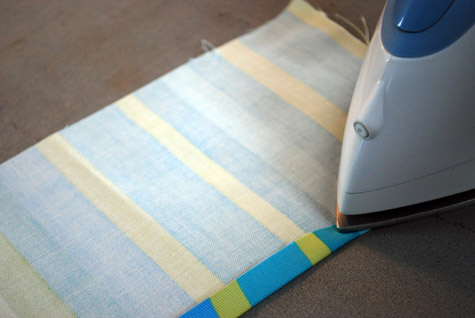
3. Attach the fabric strip to the burp cloth
Take the long fabric piece. Turn one of the long sides under 1/2″ and iron flat. Repeat on the other side.
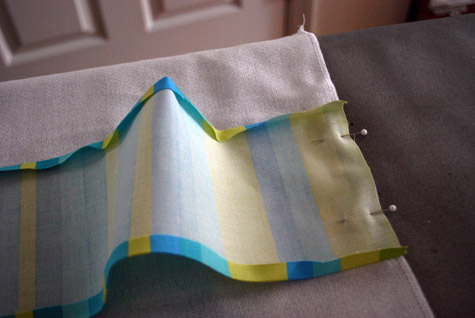
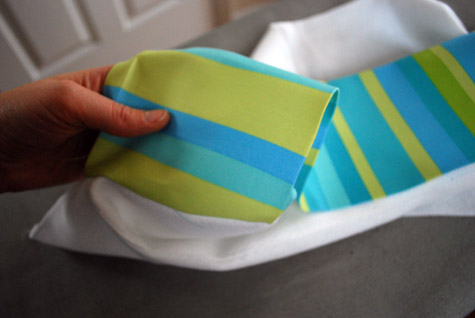
Lay the wrong side of your fabric piece onto the middle of the burp cloth, lining up one of the raw, short ends. Pin.
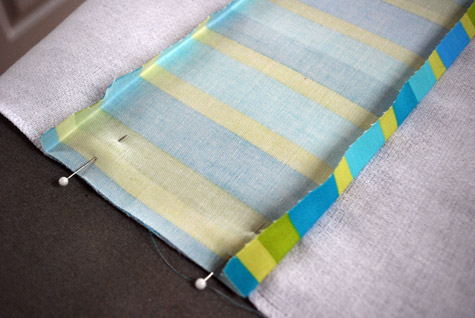
Now line up the other short side on the other side of the burp cloth and pin. You’ll have a bit of a hill in the middle like this.

Sew the short end, stitching at a 1/2″ seam. Repeat on the other short side.
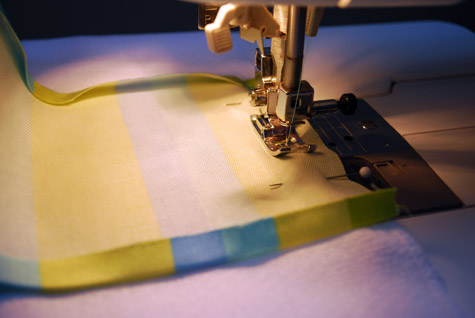
Now turn the burp cloth “inside out” so that the wrong side of the fabric is touching the burp cloth.
Iron flat.

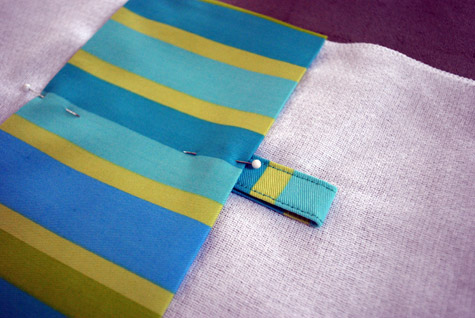
Fold one of the finished loops in half. Slip the raw, unfolded edge of the loop 1/2″ under the large fabric piece — about 4″ down from the top of the burp cloth. Pin. Repeat on the other side.
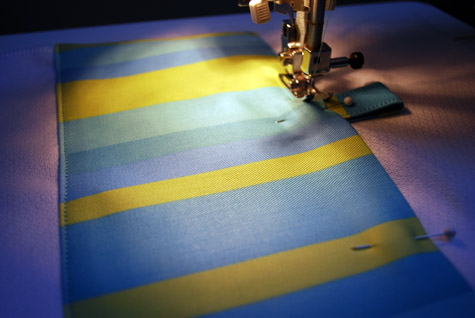
Switch your bobbin thread to white. Stitch around the large fabric piece to secure it to the burp cloth. I used a straight stitch close to the edge but you can use a zigzag stitch instead if you’d like.
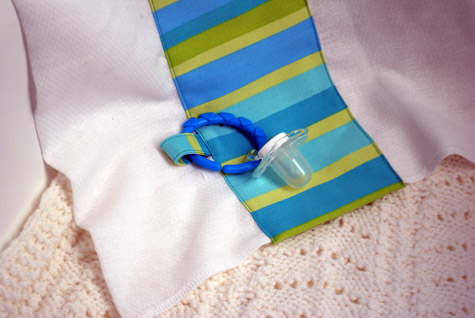
3. Attach toys
Take a plastic baby link and slip it within the loop. Attach toys or binkies for safe keeping.
COPYRIGHT NOTE: You’re more than welcome to use this free pattern and step-by-step tutorial instructions for personal use.
No comments:
Post a Comment